
Brush Annotation Tool: How to Segment Objects With Free-Form Masks
 Lisa Uspenyeva
The Brush tool paints free-form pixel masks for objects with no clear edges. See one-click masks, Eraser, Pen, Bucket Fill, Polygon Split and hotkeys.
What is a brush annotation tool?
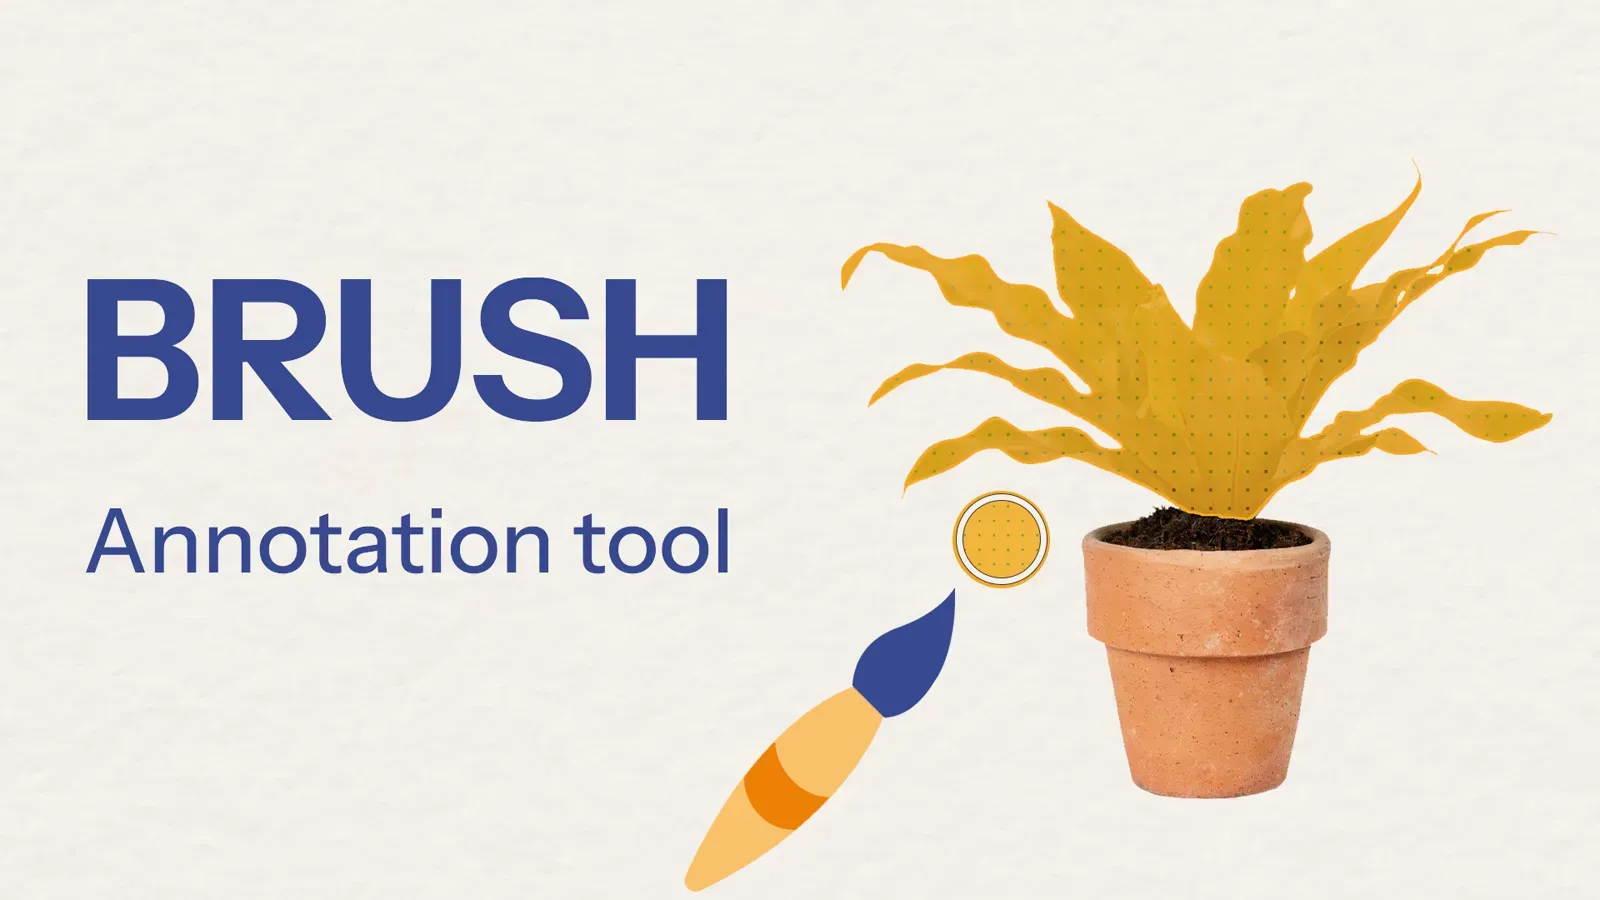
A brush annotation tool lets you paint a pixel mask over an object, like drawing with a pen, instead of placing polygon points. The Brush tool in Supervisely creates free-form, independent segmentation masks with adjustable size, so it fits irregular outlines, such as rot on a tree leaf, as well as simple round objects, such as road signs.
Image segmentation assigns a label to every pixel in an image, and a segmentation mask marks the pixels that belong to one object. Brush is part of the Supervisely image labeling toolbox. The Brush tool docs list every option.
Brush is suitable for a variety of scenarios, from outlining objects with atypical shapes, such as rot on a tree leaf, to simpler tasks such as selecting circular objects such as road signs.
It works well together with other tools, such as the Pen tool. Each tool is able to complement the functionality of the other, maximising the simplicity and accuracy of the segmentation process.
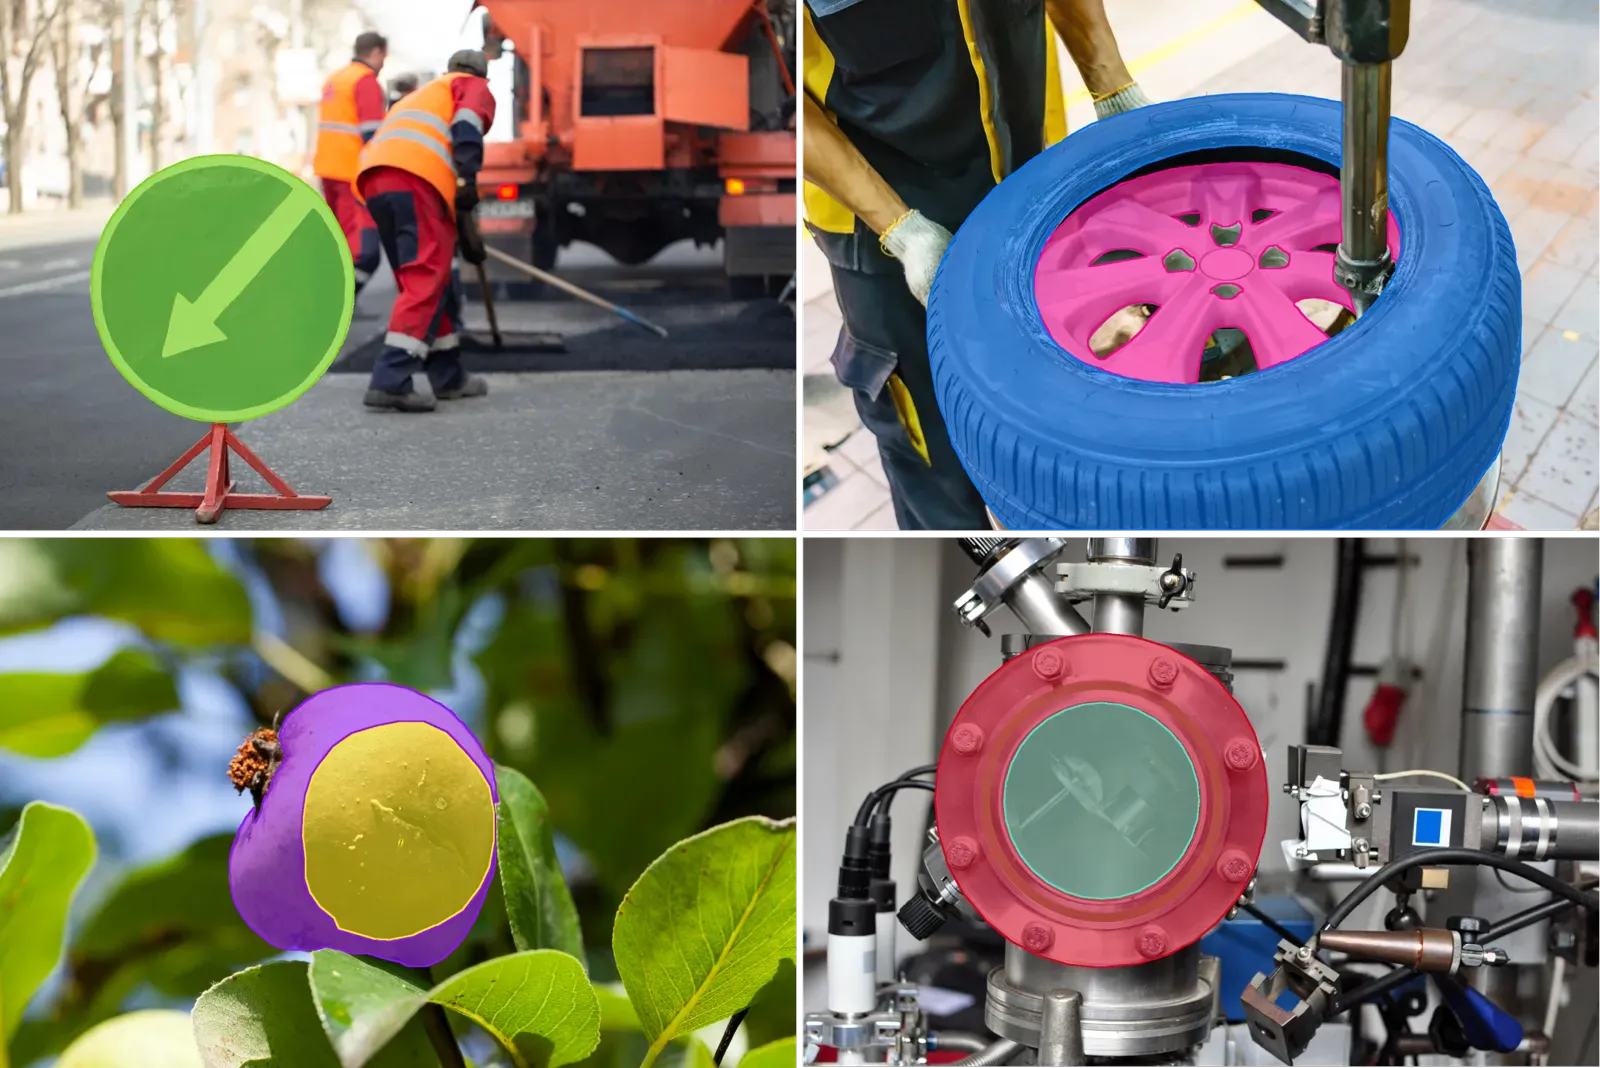 Using the Brush tool to segment objects such as road signs, tyre replacements, rotten fruit and manufacturing detail
Brush tool is most effective when working with objects or areas that don't have clear geometric shapes, such as straight lines and sharp corners. It may be your must-have for object segmentation in many domains:
-
Automotive: The Brush Tool is an essential for highlighting and segmenting cars damage, including dents and chips. It can also highlight areas of tyre wear, providing a more accurate assessment of the condition of vehicle equipment.
-
Agriculture: Brush tool is used to segment areas on the surface of fruit and vegetables that are susceptible to disease, rot or mechanical damage. It also provides the ability to annotate pests, significantly improving the quality assessment of fruit and vegetables.
-
In the Medical field, The Brush tool is used to segment the contours of tumours on images or X-rays, and to highlight anomalies, defects and structures in organs such as blood vessels or nerves. This significantly increases the accuracy of diagnosis and treatment planning in medical practice.
-
In Infrastructure Inspection the Brush tool can be used to detect damage and hazards on roads, such as potholes or obstructions. This is particularly important for the safety of autonomous vehicles, which can use this information to safely avoid dangerous areas.
-
Construction: Brush can segment defects, holes, cracks and other damage to building materials, including concrete, brick and metal. This facilitates the inspection and planning process for construction work.
How to use the Brush tool: video tutorial
Learn to use our Brush Tool effectively in just a 5-minute video tutorial with clear instructions from our Supervisely expert. Get hands-on with the new interface and discover the features in our labeling toolbox.
What can the Brush tool do in Supervisely?
You can try out the tool's newest features for free directly on the Supervisely Platform.
How to segment simple objects with one click?
The convenient scaling of this tool allows you to segment many simple round objects with literally one click. To change the brush diameter, simply use the toolbar menu or hotkeys [ ]. See how this feature makes annotation faster.
How to edit a mask with Brush, Eraser and Pen?
You can edit the created mask by removing unnecessary parts or adding new parts using either the Brush, Eraser and Pen tool.
To add a part of the object, select the shape and draw the missing part. To delete a part of the object, press and hold the SHIFT key while repeating the previous steps. The algorithm is the same for both tools.
How to fill holes in a mask with Bucket Fill?
No need to manually paint over unsegmented areas. Simply use the Bucket Fill tool to quickly fill holes in the segmentation with a single click. The selected object is highlighted with a grid of dots.
How to split a mask into two objects?
If you want to split the mask into two objects, you can use the Polygon Split instrument. Simply start outlining the desired area and finish the contour on its starting point. The shape you've just annotated will then emerge as a new object of the same class in the list of objects.
For a swift change in the class of an object, right-click on the selected item and choose the desired option from the pop-up list. In addition to class changes, this menu provides easy options for deleting or hiding an object.
How to segment an object made of separate parts?
One of the main features of the Brush tool is that it lets you select scattered separate parts of an object in the image, even if they're not connected. Just draw separate segments of the object using Brush tool - all of them will be on a single object mask. Press the SPACE key to finish the annotation and create the new object.
Which visualization settings help while annotating?
Tailor your settings to suit your needs by adjusting opacity levels, selecting random colors for objects while annotating and many other useful features.
What are the Brush tool hotkeys?
Control the Brush tool 8 more efficiently with HOTKEYS.
Draw pixel mask - CLICK + DRAW |
Erase - HOLD SHIFT |
Decrease brush size - [ |
Increase brush size - ] |
Finish & start new - SPACE |
| Use Polygon Split (to cut mask into two objects) and Bucket Fill (to fill holes) in the tool subpanel |
|---|
Finish area using SPACE or CLICK the first point. |
| Scene Navigation |
|---|
Zoom with MOUSE WHEEL. Hold RIGHT MOUSE BUTTON to move scene. |
Brush vs Polygon: when to use each tool?
Use Brush for objects without clear geometric shapes, such as damage, rot, tumours or other irregular areas. Use the Polygon tool when an object has straight lines and sharp corners, or when you need to snap its outline to a neighbor. Each Brush object is a mask of one object instance, the kind of output that instance segmentation models such as Mask R-CNN predict. The overview of manual segmentation methods shows how to combine them in complex scenes. To let a neural network draw the first mask, try Smart Tool. To paint soft, partly transparent edges with brush opacity and hardness, see image matting.
Conclusion
In this post, we have examined the key features of the Brush tool currently accessible in Supervisely. We've explored its extensive capabilities and practical significance. With its flexible scalability and ease of use, the Brush tool becomes an integral part of your workflow, allowing you to quickly and accurately select and annotate objects of any shape.
Frequently asked questions
What is the Brush annotation tool?
The Brush tool in Supervisely paints free-form, independent segmentation masks. Its size is adjustable, so it works for objects of any complexity, from irregular shapes such as rot on a leaf to simple round objects such as road signs.
How do I change the brush size?
Use the toolbar menu or the [ and ] hotkeys to decrease or increase the brush diameter. A large brush can segment a simple round object with a single click.
How do I erase part of a mask?
Hold SHIFT while you draw to erase. You can also edit a mask with the Eraser and Pen tools: draw to add a missing part, hold SHIFT to remove an extra one.
How do I fill holes in a segmentation mask?
Use Bucket Fill in the tool subpanel and click the hole. The selected object is highlighted with a grid of dots, and the hole fills with one click.
Can one mask consist of several separate parts?
Yes. Draw each separate part of the object with the Brush and all of them stay in a single object mask. Press SPACE to finish the object and start a new one.
How do I split a mask into two objects?
Use Polygon Split in the tool subpanel. Outline the area to separate and finish the contour on its starting point. The new shape appears in the object list as a new object of the same class.